I'll say it outright: this wasn't my original plan. I wanted to make
this gem. But the chain I purchased was way too thin, resulting in a crumpled mess so tangled up and convoluted that it made the Big Dig look properly managed. So, instead of giving up, I brought the project along with me to my husband's hockey game and came up with something on the fly. And this is what I created:
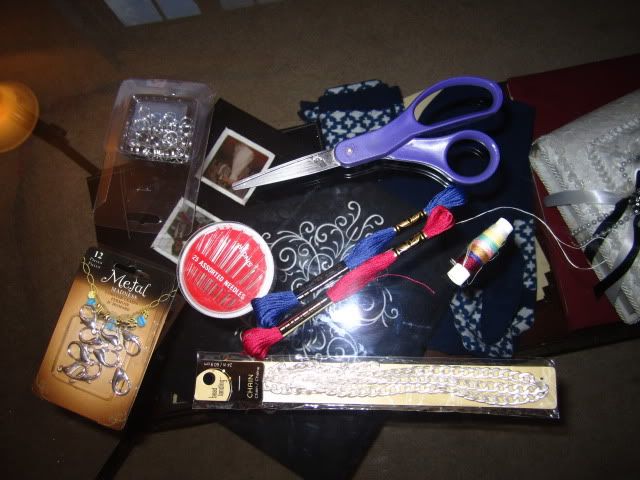
I first prepared for the bracelet at home like they do in the website. I got the chain and the craft string. I busted out my lobster clasps and jump rings. The website used bobby pins to bead the string, but I already knew my chain was on the small side (compared to the one they use in the tutorial), so I opted for needle and thread instead.
I was so excited, since the colors I chose were a ruby-like red and sapphire blue. Those were my wedding colors: my husband's birthstone is the ruby and mine is the sapphire. My engagement ring is adorned both stones, one on each side of the main stone. I also fell into symbolism heaven when I found out that sapphires and rubies are technically the same stone, only different colors (the two that are actually one and weddings being about two becoming one
oh my goodness someone hold me I'm getting the vapors).
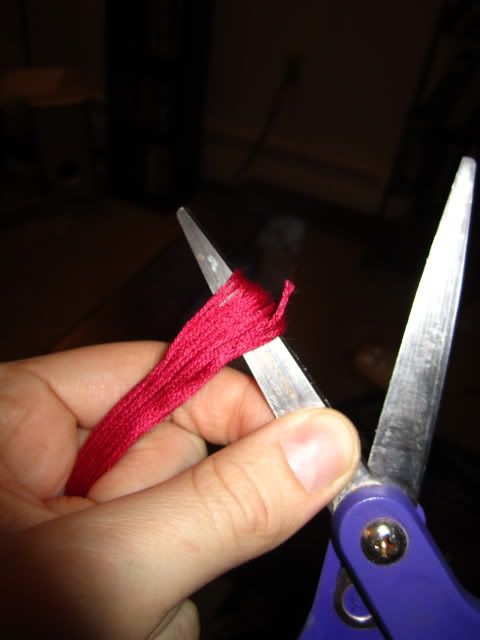
I first cut the string at one if its loops, since the length of the string in its package was perfect (and it would save me time in measuring out the string).
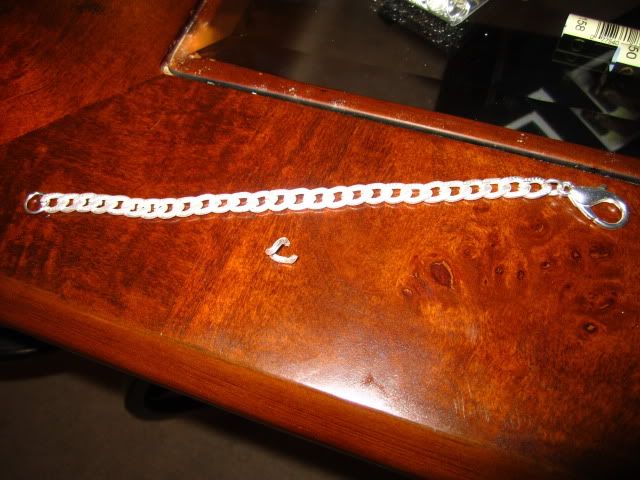
I then sized the chain and created my bracelet. Since the chain was thick, wire cutters wouldn't break it (or, you could say: wire cutters wouldn't cut it,
ba-dum-ching), I used my two sets of pliers to pry on link open.
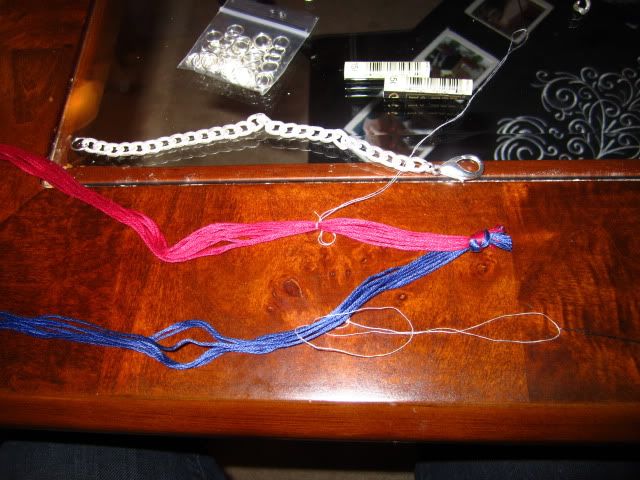
I tied together the two groups of string at one end. I then threaded two needles with a small amount of thread and looped the thread around each cluster of string. I fed the needle through the loop by the end of the thread and pulled tightly, creating a stable (but adjustable) attachment.
Then I tried to braid the thread into the chain. Key word: tried. I tried all sorts of strategies to keep it from collapsing into a mess of materials. But nothing, absolutely nothing, was working. The chain's narrow frame just didn't lend itself to this project, plain and simple.
That was when I finally cried uncle, unbraided the strings, and moved my operation to the Everett Hockey Rink. Specifically, the bleachers at the Everett Hockey Rink.
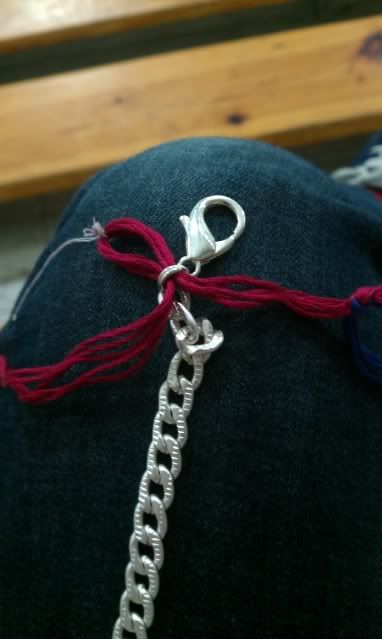
After admitting it was all going to shit, I decided to just wing it and see what happened. The first thing I did was feed the first section through the jump ring used to attach the lobster clasp to the chain.
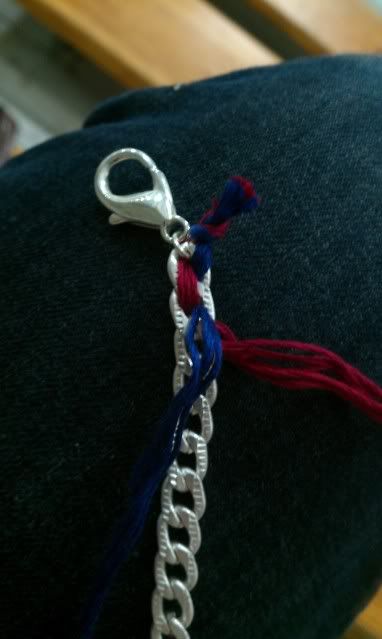
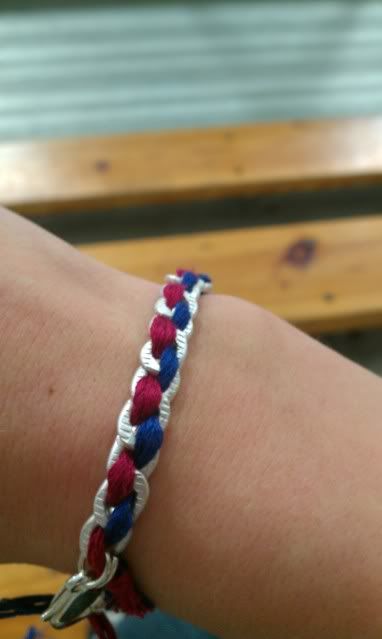
I then fed the red string through the loops, with the blue string going in the opposite direction. Occasionally, I would loosen the thread loop and shift everything down a bit.
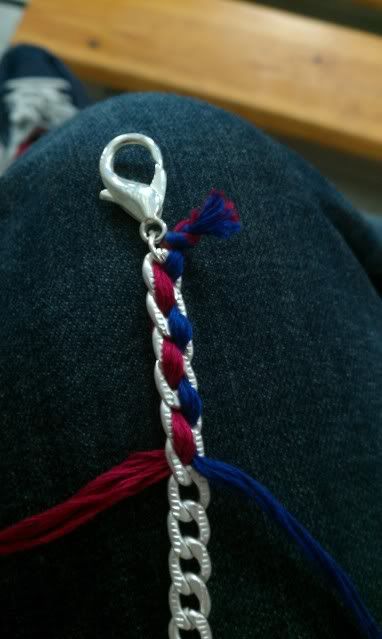
A picture of the bracelet as I finally got into my rhythm.
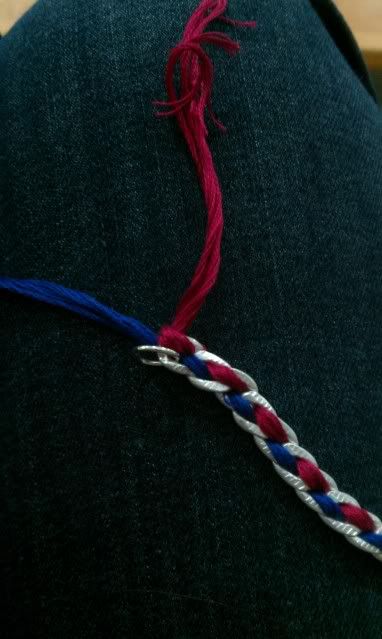
Once I hit the end, I knotted the two string groups together by the jump ring.
I love the results, even if it was technically a consolation prize. And since its my wedding colors, it's somewhat a nice reminder of my wedding (as if the wedding rings and the
10+ framed photos isn't a reminder enough).
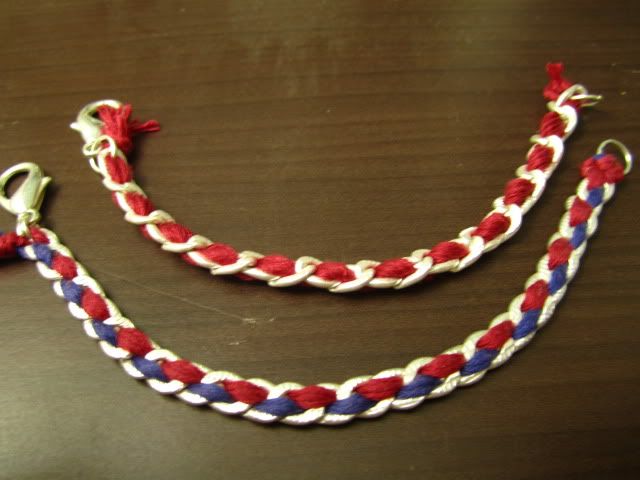
Since I had some extra chain, I made a purely red one as well. For this, I split the cluster of red string in half and tied it to the jump ring like my did my red and blue strings. After feeding the first group of string through the jump ring, I simply combined the string clusters into one and continued weaving. Absurdly simple, especially compared to what I first went through.
But someday -- someday -- I'm gonna make that fehcking braided bracelet.
Hi! Loving the bracelet!
ReplyDelete