Friday, December 28, 2012

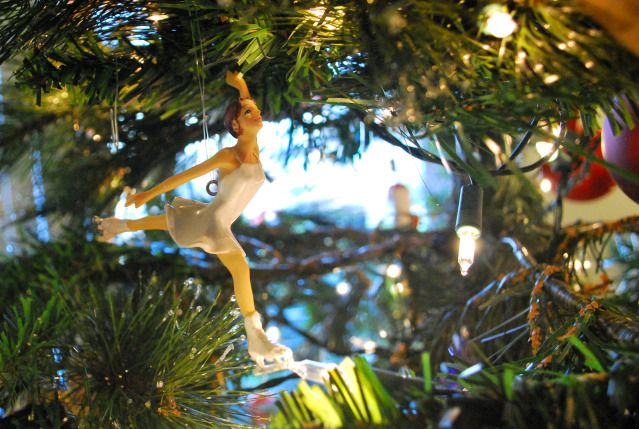
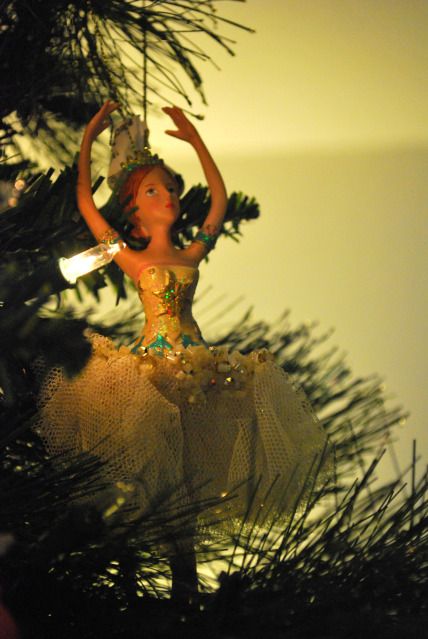
Photo Friday: Ornaments

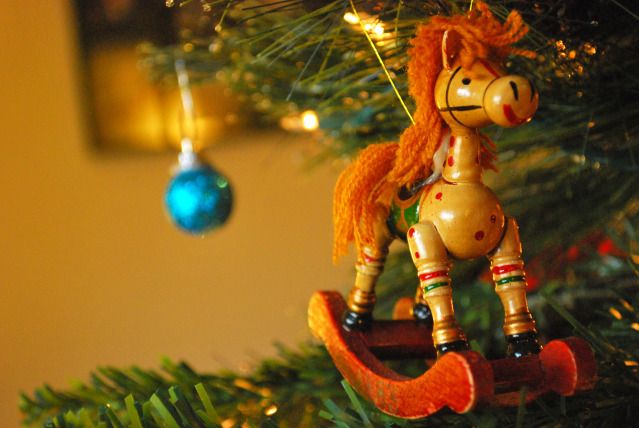
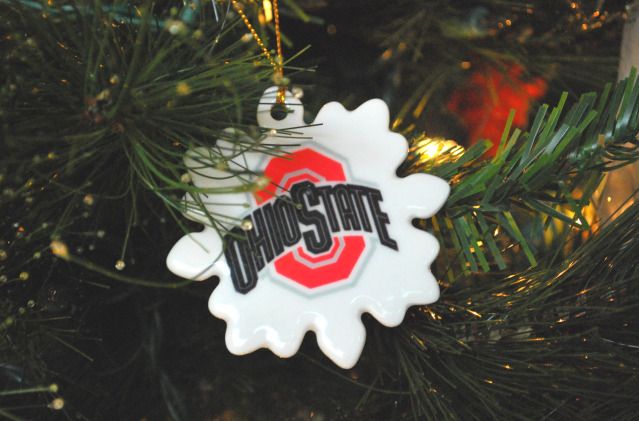
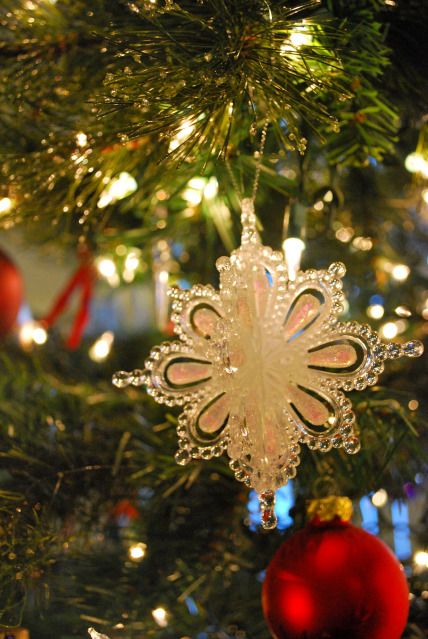
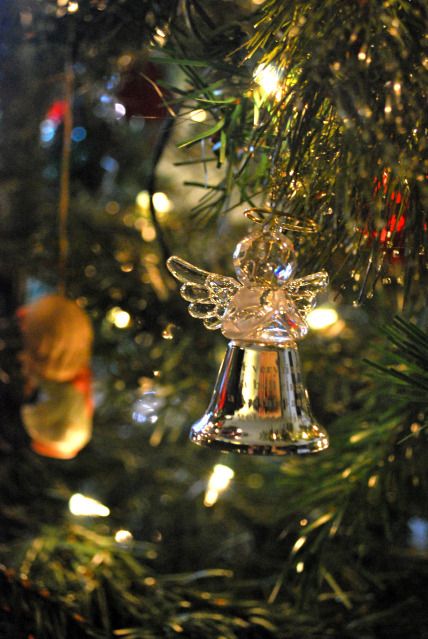
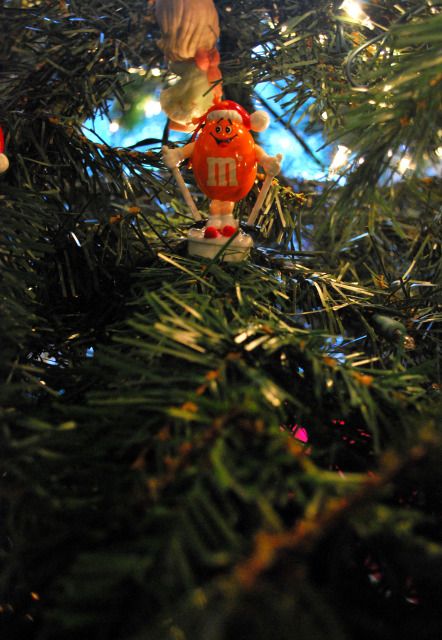
I remember one of the first things I did when I got my DSLR was take photos of my family's Christmas tree ornaments -- to which my dad remarked, "You look like a professional photographer."


The camera was a Christmas present from my now-husband, and I was shooting in "portrait" mode (and, really, all those fancy modes are just Auto for the picky) and using my in-camera flash. I might not be a professional photographer now, but I certainly was no where near that back then.


While I couldn't find those old photos, I decided to just snap a few of my husband's and my Christmas ornaments.


Wednesday, December 26, 2012

Writer's Wednesday: It's Done, It's Done, It's Finally Done

I don't know how I did it. I really don't.


But my second book is finished. By some beautiful miracle, I finished the book before 2013. In fact, I finished my book the day after the Mayan Apocalypse Day.


What blows me away is the fact that I wrote 90% of it within two months. What really blows me away is the fact that the first 10% took over a year to write. And while I fully recognize that I'm far from done with this book -- shit, I finished my first book in 2010 and I'm still not done with it -- it just feels good to actually have it accomplished.


I, for one, am thankful to be done. As I've mentioned before, I've been writing the Catch-22 of the education world. And while it was incredibly freeing to write essentially whatever I wanted, so long as it would bring a chuckle or add to the absurdity of it all, it was starting to weigh on me. The subject matter hits a little close to home and, while I don't, say, work alongside teachers who are planning nothing short of a military coup, it does highlight the stress and frustration of working in education.


And the question is: now what?


Now, I do nothing. I'm going to let it be for a bit. My husband and my sister-in-law are champing at the bit to read it and I'll gladly send it to them: with the caveat that my book is in its absolute rawest form. Most of these pages have not even been read over once since I first wrote them. Who knows what goodies await the reader.


But, now, I go back to my first novel. I go back to my query and my synopsis -- two things that I had gotten so sick of that I was ready to self-publish, if only to never have to write another query about my first book again -- and I start the agency hunt again. I've come a long way from when I did my first query hunt last year, and I've definitely learned a lot since then. The numbers are still not in my favor, but I'm going forward with a much sturdier head on my shoulders.


And, of course, there's always my third novel, which I've been brainstorming about since before NaNoWriMo. Maybe, just maybe, come next year's NaNoWriMo, I'll have enough of the foundations for my third novel ready to do a repeat of this year.


But, of course, no pressure =)

Saturday, December 22, 2012

Wrap Up Your Table like a Christmas Present


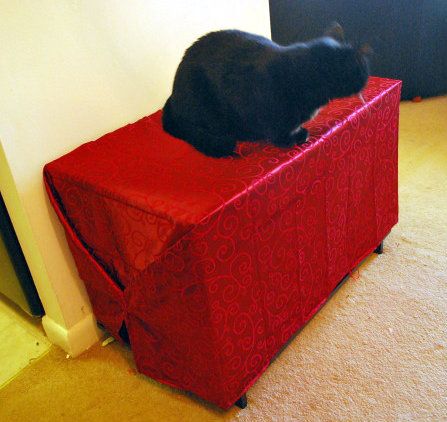
As I mentioned in my mega post, I got a table runner and a matching table cloth for a combined total of $8 at the Christmas Tree Shop. The table cloth was the perfect size for our old TV stand/upcycled dining room shelf. It looked a little funny with the edges sticking out, so I decided to wrap up the table like a Christmas present.


This is fairly simple: on one side, flatten the center portion of the table cloth and smooth out the edge folded portions. You'll begin to see a bit of a "wrapped present" look already. Attach a clip to one of those edge pieces, just under the fold.


Attach the bottom center portion of the table cloth to the clip, under the first folded edge.


Bring the second folded edge over and clip it into place as well, in front of the folded edge.


This does take some finagling, but once you get the handling down, you'll get nice, neat look. Perfect for a cat to jump on and mess up.

Thursday, December 20, 2012

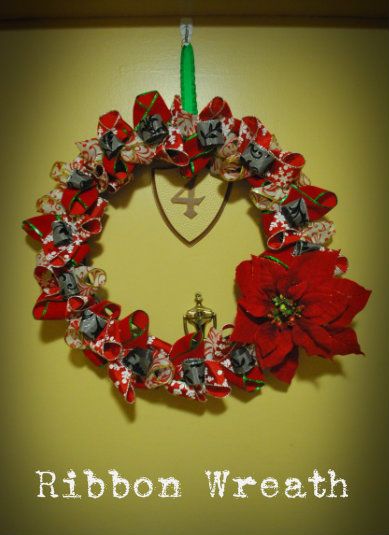
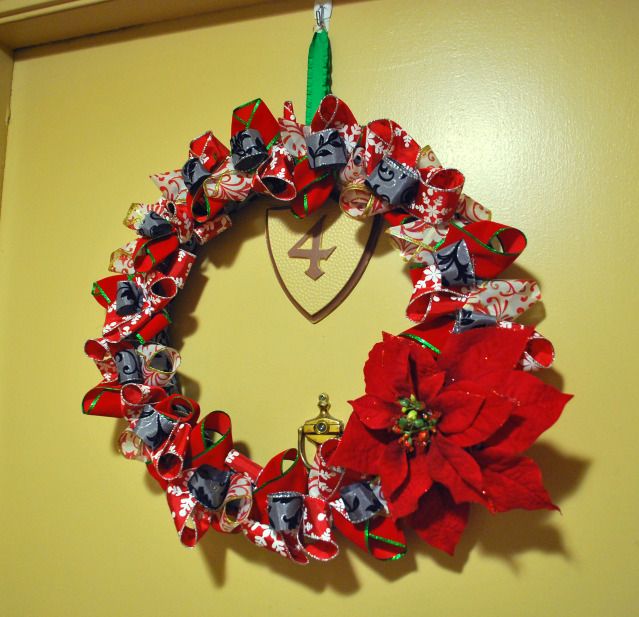
Ribbon Wreath


Even though we're still renting an apartment, I wanted to adorn my front door with a Christmas wreath. And I decided that I wanted to make my own.


For this project, I needed:
- ribbon
- pins
- thimble
- scissors
- styrofoam wreath (which can be found at any crafts store)
- adhesive hook (again, any crafts store, hardware store, grocery store…)


I first wrapped the wreath in ribbon. This is as simple as pinning the beginning of the ribbon on one side of the styrofoam, angle the ribbon, and wrap.


Wrap all the way around, and, while holding the beginning portion in place, remove the pin, place the ending of the ribbon on top of the starting ribbon, and pin both in place.


For the "leaves", I cut small portions of ribbons and wrapped them in a half-figure 8 position (so that they look like the top part of a support ribbon). And pinned them directly onto the wreath.


I arranged these leaves in circles of 3 or 4 leaves and accented the center of each with a circle of ribbon. This is where the thimble kicks in. The more ribbon on your wreath, the harder it gets to put the pins in, leaving you with blisters on your index finger and thumb if you don't incorporate a thimble.


I kept going around the wreath, making these little ribbon flowers. I'd make tinier versions of the half figure-8 and circle to fill in any of the gaps, or add to any areas that needed a little extra flourish.


After figuring out how the wreath would hang, I pinned a loop of ribbon to the back of the wreath. I played it save and put in a good 10 or so pins. Better have fewer pins than a wreath that crashes.


I attached a split ring to the ribbon, a hook to the front door, and a poinsettia to the lower left side. And I love it, even though the only people who are going to see it are my apartment neighbors and my house guests -- er, apartment guests.

Sunday, December 16, 2012

Etched Wine Glasses


So I mentioned in passing about the wedding present I made for my brother- and sister-in-law's wedding. And what was that present, you ask?
Wine glasses!

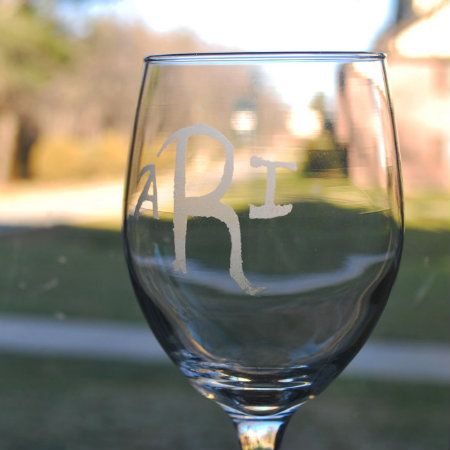
But not just any wine glasses: etched wine glasses.


I am nuts about glass etching, from multiple picture frames, to the coasters, to the baby jars. I also love anything monogramed, so I figured a nice minor present (to accompany the actual present -- I'm not nearly arrogant enough to think something I make would be good enough to be a stand alone present) would be wine glasses with their new set of initials etched onto the side.
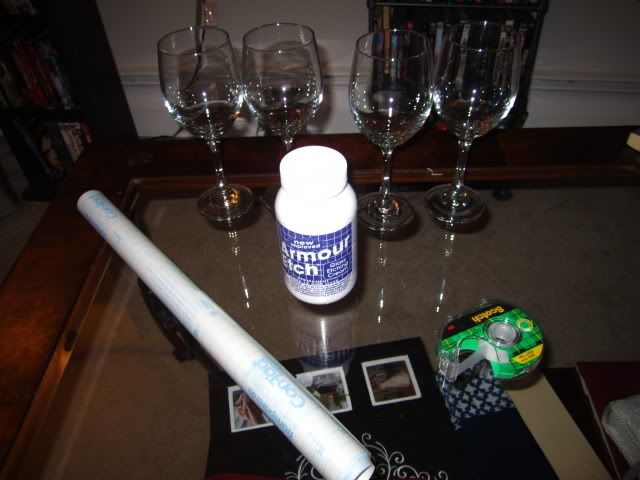


Like my other etching projects, I whipped out my:
contact paper,
cutting board,
Scotch tape,
exacto knife, and
etching cream.

I also purchased 4 wine glasses: two to practice on; two to make as the gift.
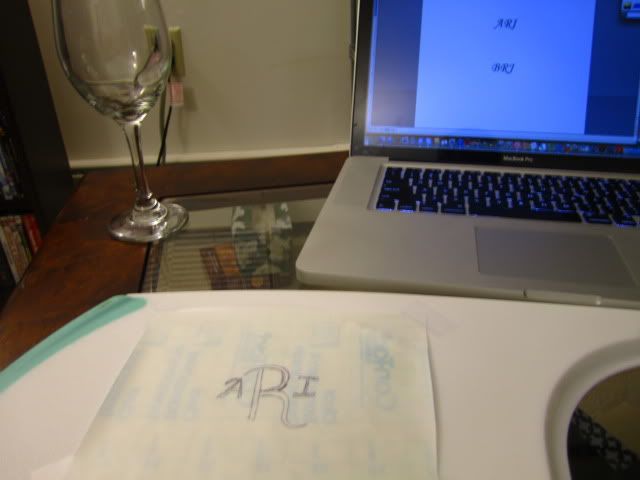

First, the practice glasses. After cutting up a small rectangle of contact paper and taping it contact-paper-side up onto the cutting board, I sketched out (since, as we've already established, am not too keen on stencils) my first initial. Even though I hate stencils, I still needed some guidance. So I opened up Word and found a found I loved and used that as my inspiration.
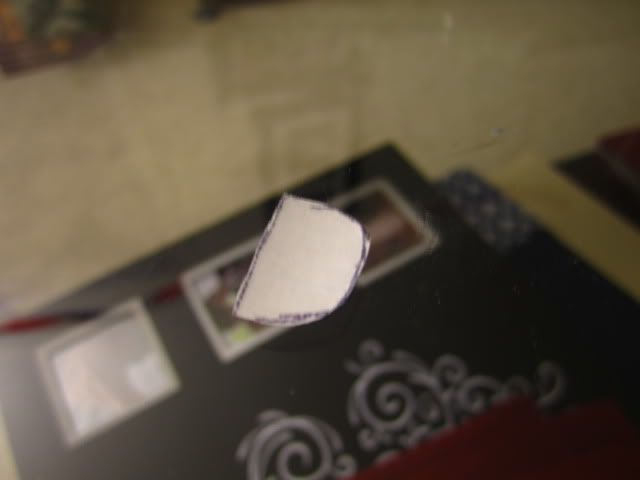

The cutting portion was the most stressful. The weaving was fairly ornate, especially compared to the other designs I've cut from contact paper. On top of it, I had to save the center portions of the letters A (my first initial) and R (my second initial) -- which meant I couldn't mess up on cutting out the triangle that makes the center portion of A and the half-oval that makes the letter R.


Thank God my husband's name starts with the letter I.
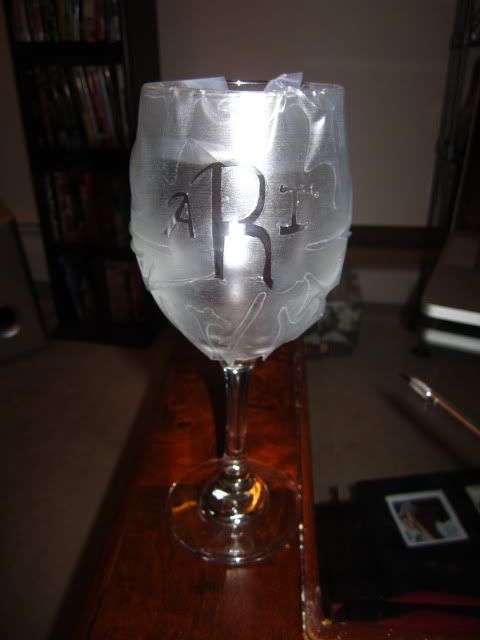

Pasting the contact paper on was also stressful. Everything needed to be centered and straight. And I had to put the triangle/half-oval back in place (without those, I'd just have etched blocks that resemble letters). I found that the easiest way to get contact paper onto wine glasses is to start in the middle and work my way out. That meant I pressed down on the "R" portion of the contact paper and smoothed outwards, pressing down the contact paper so that no bubbles or ripples formed. And, once I got this done, I got to do it all over again with the second practice wine glass.


After the most stress-inducing part was done, I covered the rest of the wine glasses in contact paper. With all that work, the last thing I wanted to do was ruin the glasses by having the etching cream slide onto the back of the glass. On top of that, I sealed the border between the two pieces of contact paper with tape. I covered the base with contact paper as well, just to be safe.
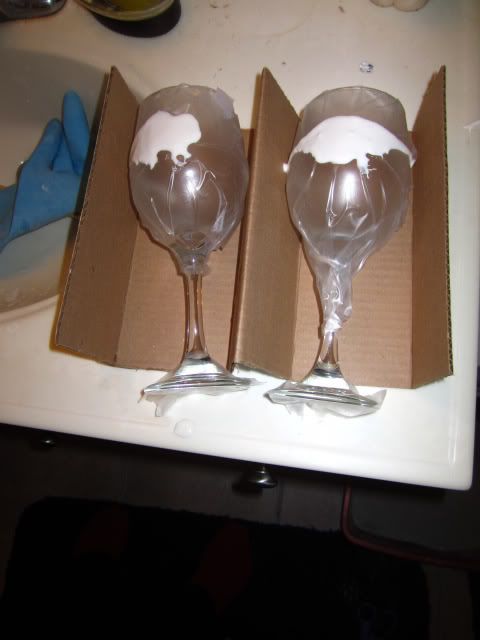

I saved the partition that the wine glasses came with to hold the glasses in place while I slathered on the etching cream. By the time I finished the second glass, the cream from the first glass was already sliding downward, so I'm very happy I protected the entire glass.


I let those puppies stay in the bathroom for a good 30 minutes. Then an additional 5 minutes just to be sure. Afterward, I thoroughly cleaned off all the etching cream, peeled off the contact paper and tape, and ran the wine glasses through the dishwasher.


Now that I knew what I was doing, I felt secure making the wedding present now. I also knew how big I should make the letters and how far apart I should space them.


So, again, I typed out their initials in Word and sketched them out on contact paper.


Now, joy upon joys, my sister-in-law-in-law's first initial is B. That meant saving two half-ovals on top of the half-oval in R. Again: joy upon joys.


Somehow, I didn't mess up the cutting portion and was ready to etch. As an extra-precautionary measure, I wrapped tissue paper and contact wrapper around the stem.
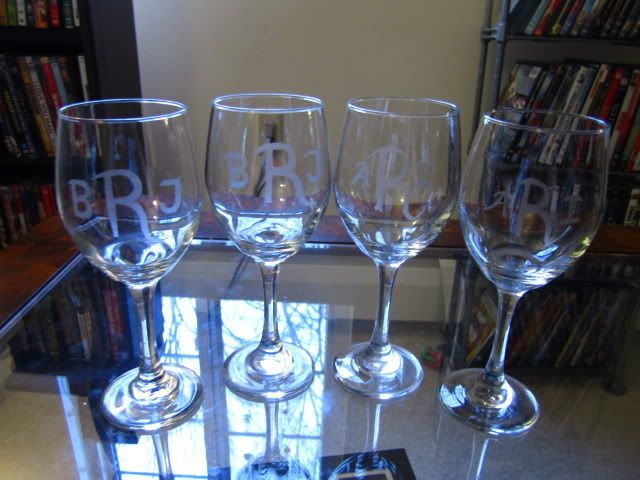

I'm psyched with how they turned out. I was expecting the practice glasses to fail horribly, the actual glasses to fail almost as horribly, and me to admit defeat. I had been wanting to do a project like this since I got my etching cream, but felt too inept to do it.

And somehow I pulled it off. I think.
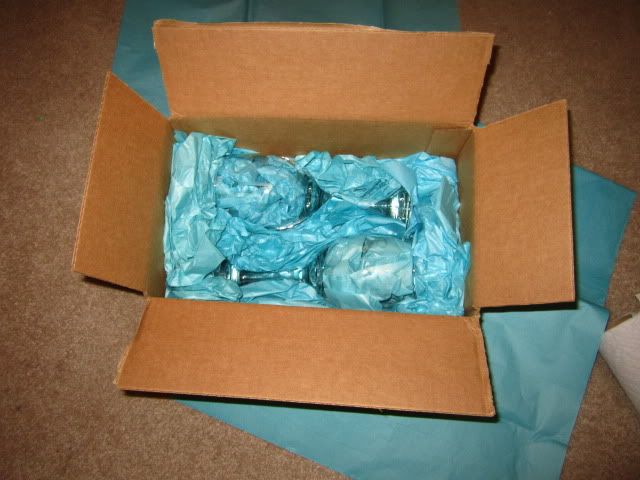

And since my sister-in-law loves Tiffany & Co, guess what color tissue paper I got.
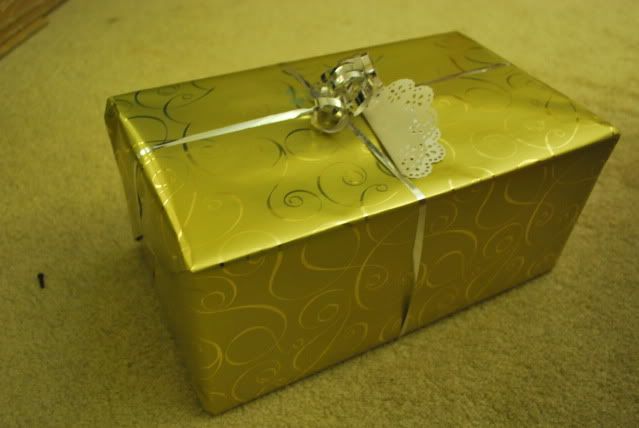

By some beautiful miracle, this made it to Florida in one piece. It helped that I had it in my carry-on luggage and treated the luggage like it could detonate at any moment. One bit of information I very much kept to myself going through TSA.
Friday, December 14, 2012

Photo Friday: The Problem With The Common Camera

As I've mentioned before, I decided to go full-on manual about 6 or so months back. While I'm still trying to find my footing, I absolutely love being able to control, to some extent, how my pictures turn out. When I flew out to my brother-in-law's wedding, I decided to keep my DSLR at home, since it was bulky and we were already bringing extra luggage thanks to the wedding and Christmas presents. Besides, my point-n-shoot was fairly advanced. Surely that would be enough, right?


Wrong.


It's safe to say that this will be the last time I'm without my DSLR by my side. I can't handle machines trying to be smarter than me (I'm looking at you, Skynet). From white balance to exposure, the point-n-shoot could never really get it right. However, that didn't mean I didn't have a little fun and trick my camera when I could. The result? Some interesting photos that look like someone had been trying to film a night scene in the daytime, like every music video in 2000.

(Really, music video directors, you were not fooling anyone. The sunlight was reflecting off of everyone's skin!)

Related Posts Plugin for WordPress, Blogger...

09 10 11 12
Blogging tips