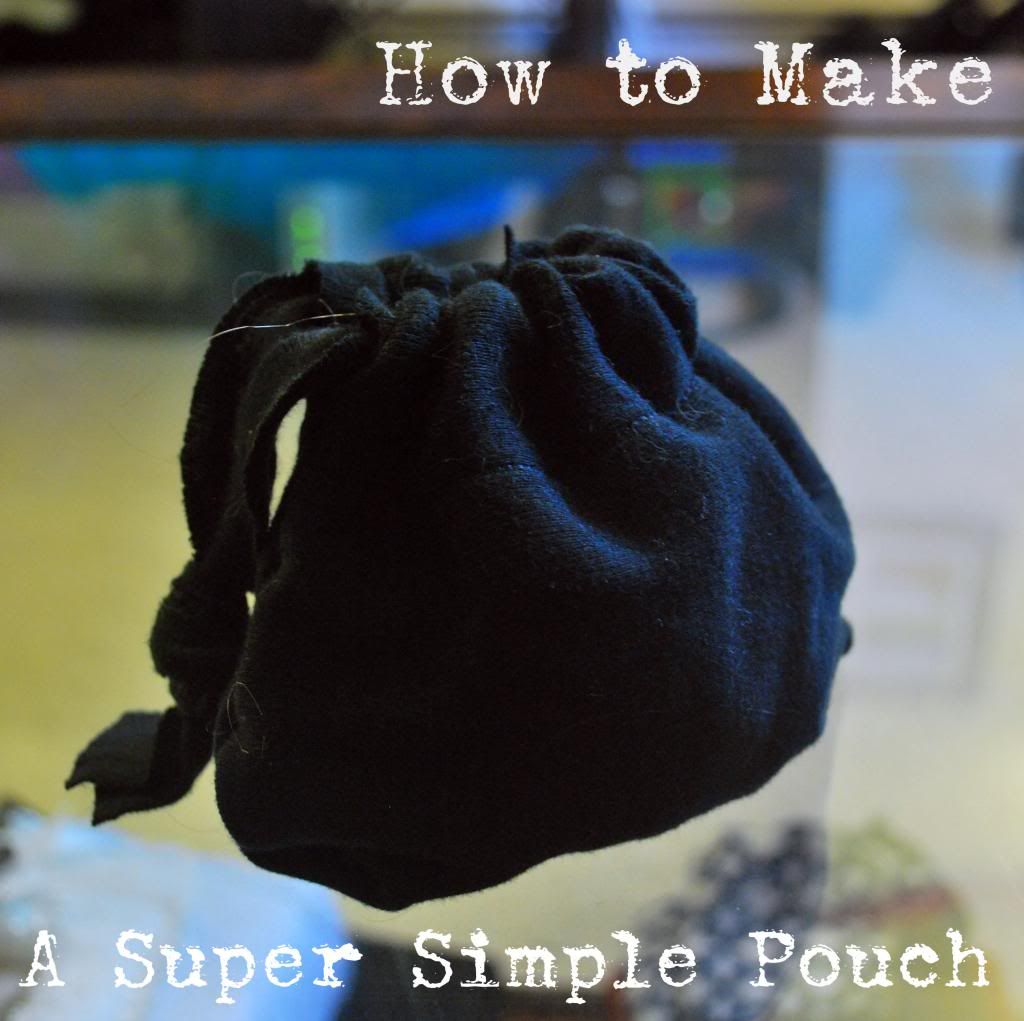
This is how to make a simple pouch out of one piece of fabric and two sets of stitches. Perfect for anyone who is just learning sewing (or would just like to make a quick bag). Excuse the cat hairs, as my bag of scrap fabric has become a nap haven for both my cats.
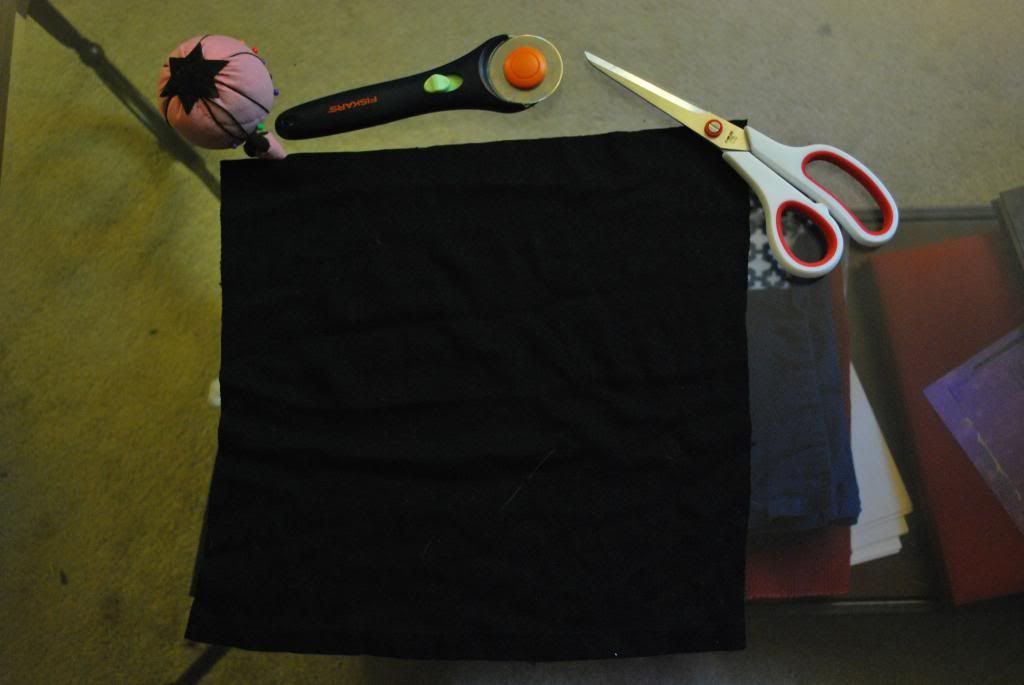
You really only need one thing for this project: a piece of fabric. And sewing supplies. And scissors. Okay, that's more like 3. So sue me.

Cut along the longest edge of the fabric, creating a 1/2"-wide piece of fabric. This will serve as your drawstring. Cut the remaining fabric into whatever size/shape you want your pouch to be. Fold the fabric in half to get a good idea as to the pouch's shape. You're best off cutting a long rectangle, but everyone wants different things.
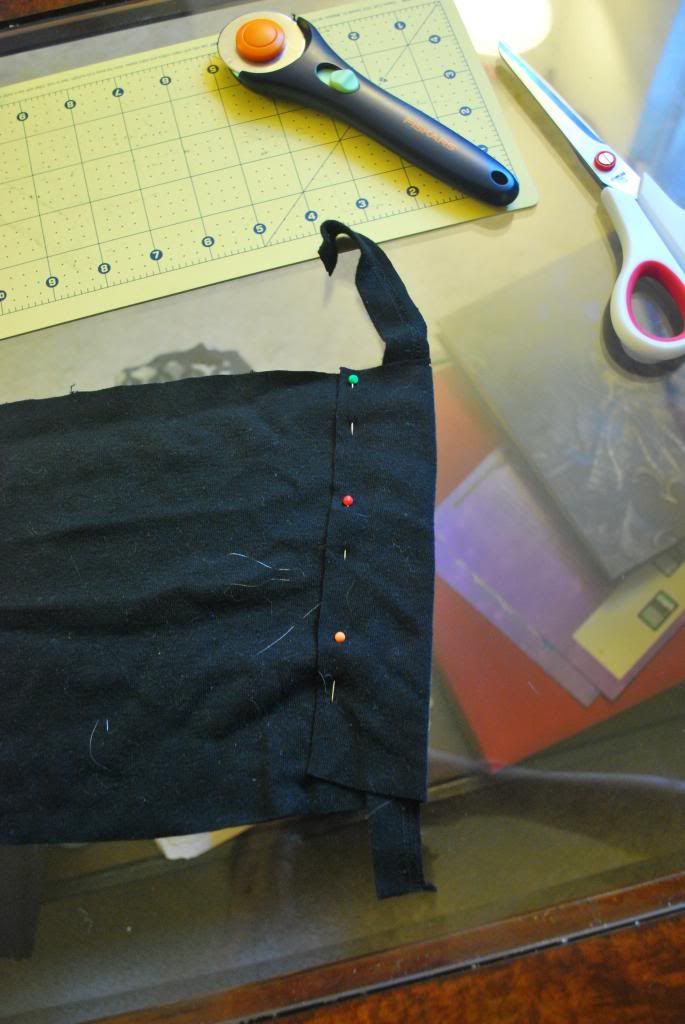
First, we'll stitch in the drawstring area. Lay the drawstring fabric across the top edge of the main fabric's short sides. Fold the fabric over the drawstring so that it completely covers the drawstring, with about a centimeter's worth of wiggle room. Pin into place and sew a straight seam across the pinned area.
Another way to do this is simply fold over the top edge of the fabric, stitch it into place, and feed the drawstring fabric through it. Honestly? I find the first way easier, but to each his own.
Fold the main fabric away from the new stitch (you know you have folded the fabric in the right direction if the rough side of the first stitch is facing out). Without removing the drawstring from the first stitch, bring the remaining part of the drawstring over to the "new" top edge and repeat the process on the outside fabric of the fold. This takes a little finagling, especially if the drawstring isn't that long. You can "cheat" by bunching the fabric by the first stitch, freeing up more of the drawstring.
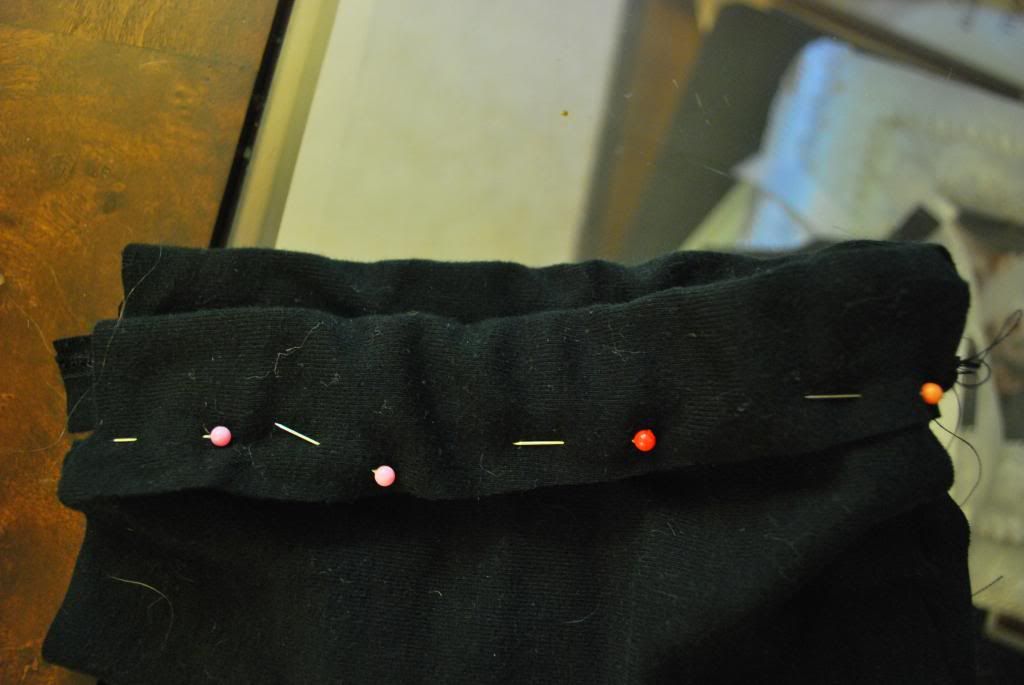
If done correctly, both of the stitches folds will be facing out, and the project will start resembling an inside-out drawstring pouch.
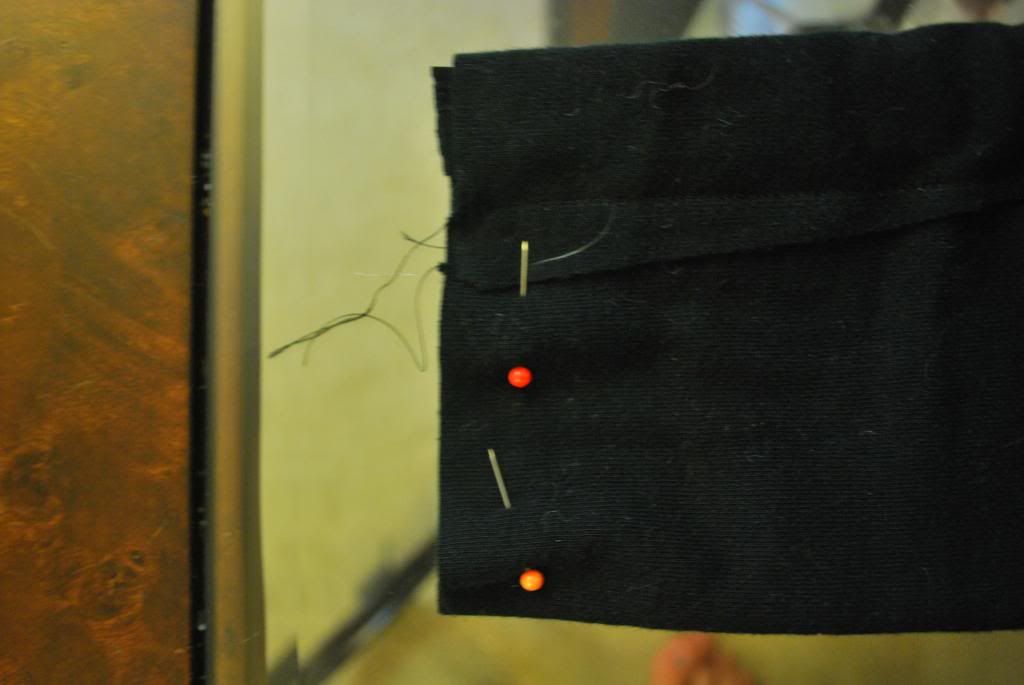
Pin up both sides of the fold, stopping at the top stitches, and sew them into place.
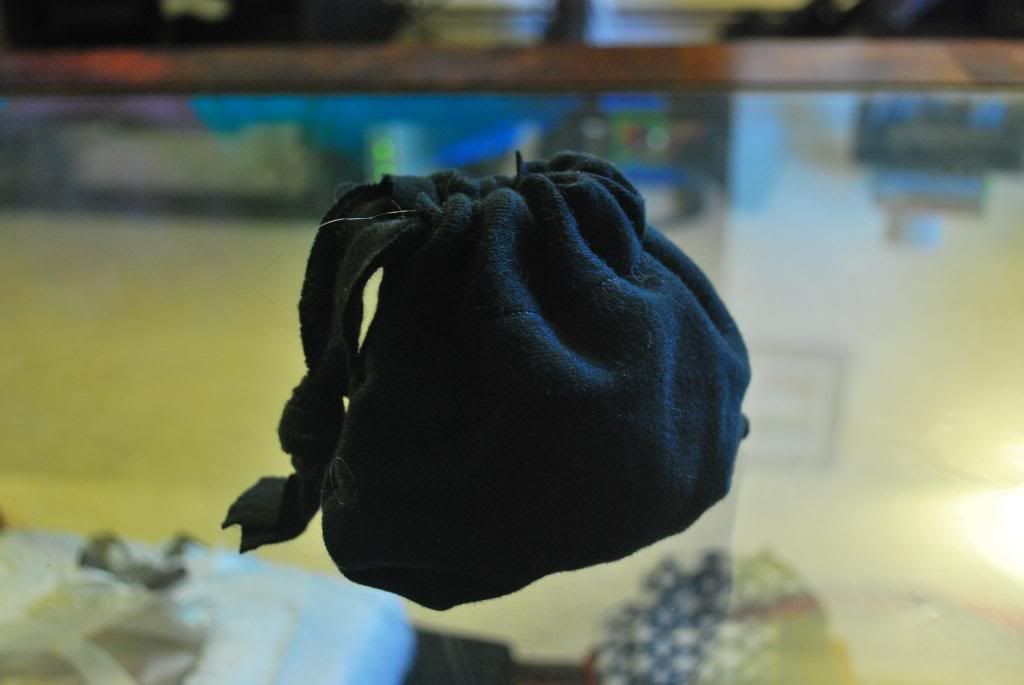
Turn your pouch right-side out and pull on the drawstring to bunch the fabric. Knot the two ends of the drawstring together, and viola, you are done. If you're ready, you can try making a much large drawstring pouch with more durable fabric, or even try adding a few straps to turn it into a backpack. The possibilities are endless.
No comments:
Post a Comment